
As a plant lover, I was absolutely over-the-moon to have received a voucher for a kokedama workshop as a Christmas gift. 🌿 Even better, my friend Aindrea had received a voucher too, so we were excited to attend the workshop together. With visions of greenery dancing in our heads, we eagerly made our way to ByAzumi in South Yarra on the appointed day, ready to get our hands dirty and our creativity flowing.
The workshop was led by the wonderful Azumi Ishikawa, who skilfully guided us through each step, ensuring we had a truly immersive experience. Azumi generously provided all the materials we needed, from plants and soil to moss and string. The workshop exuded a heartfelt warmth, and Azumi graciously shared her wealth of knowledge with us. Furthermore, as an added delight, we were treated to yummy Japanese sweets and soothing tea throughout the lesson. Coupled with beautiful foliage and blooming flowers, the studio space provided a ton of botanical inspiration.
Firstly, What is Kokedama?
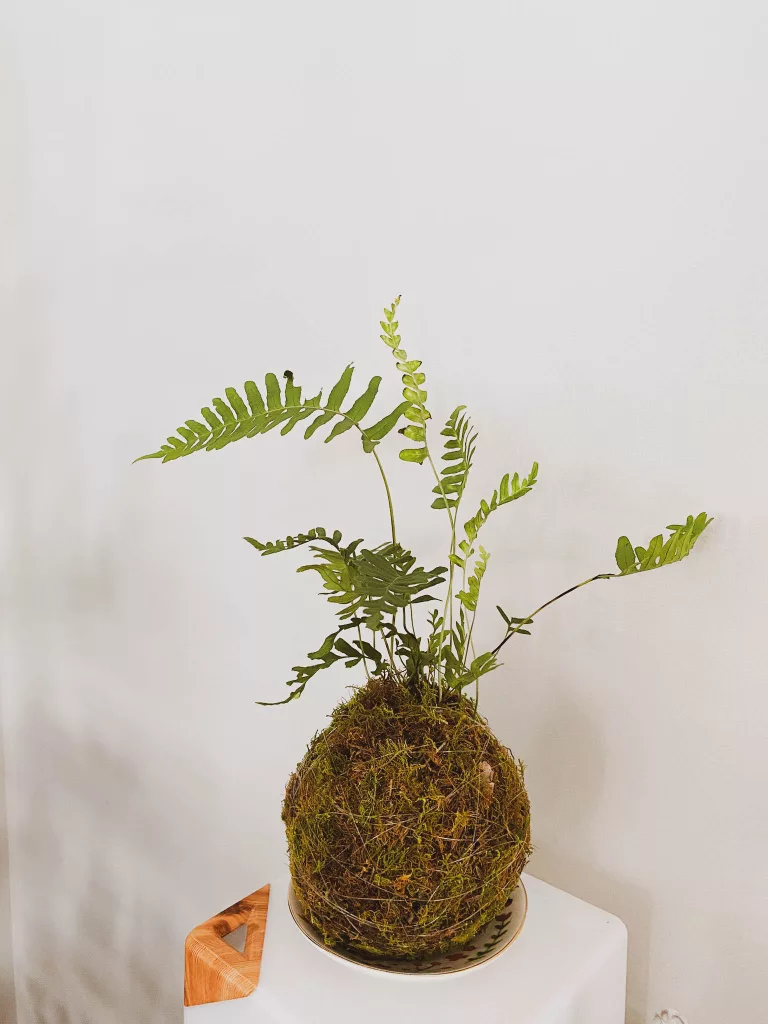
Kokedama, which literally translates to “moss ball” in Japanese, is a unique form of gardening where plants are grown in a ball of soil wrapped in moss. It is an ancient art form that originated in Japan and has gained popularity for its simplicity and aesthetic appeal. Unlike traditional potted plants, kokedama eliminates the need for a container, creating a visually pleasing and natural display. If you are into minimalistic aesthetics like me, kokedama is a great way to display your plants.
The Process
I’m definitely no kokedama pro, but here’s the lowdown on the general steps we took to create these little moss balls of fun:
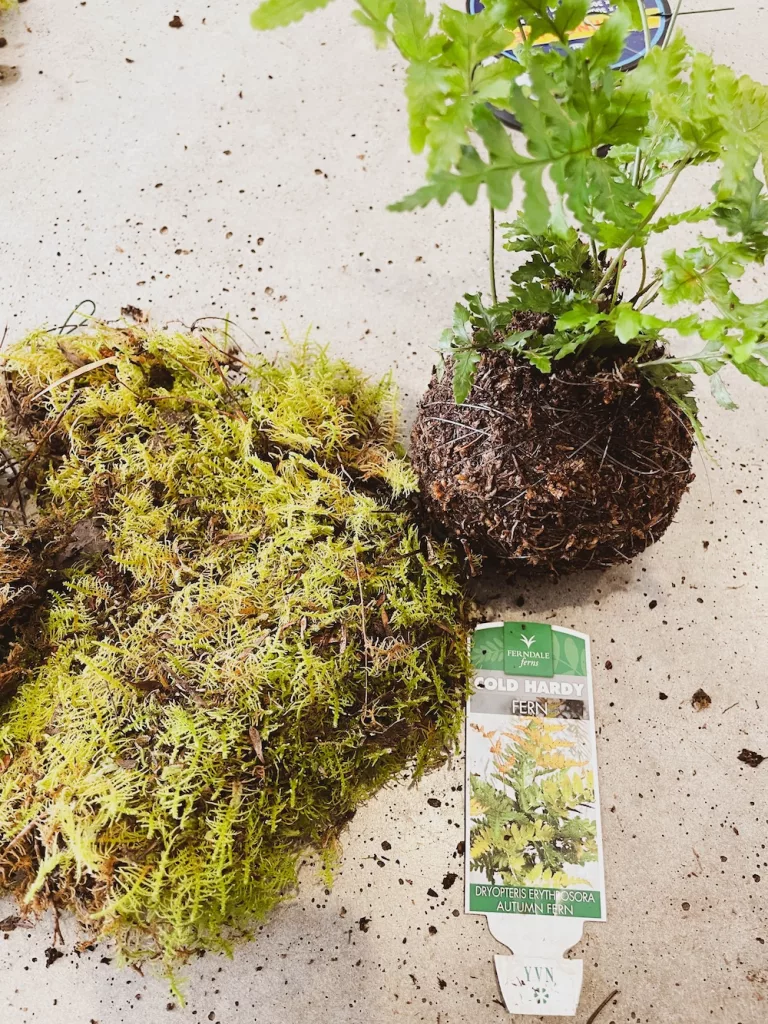
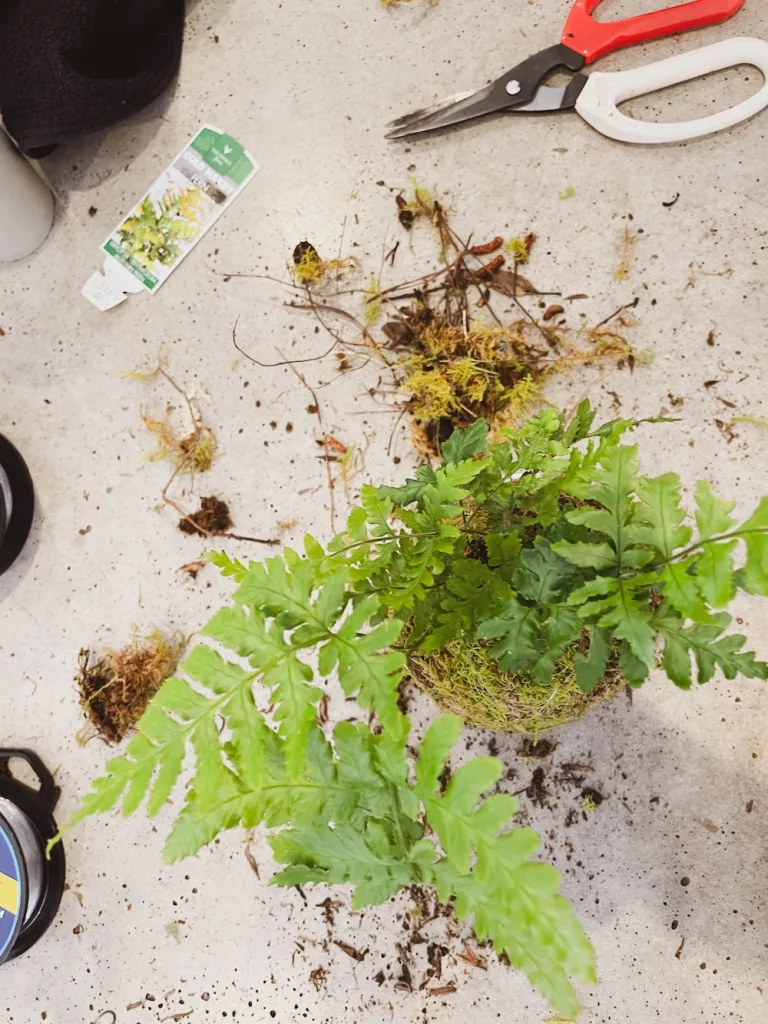
- Gather Materials: The materials we needed included suitable plants (we had ferns), soil, moss, scissors and clear fishing line.
- Prepare the Soil: We mixed the soil with water until it reached a consistency where it held its shape when squeezed.
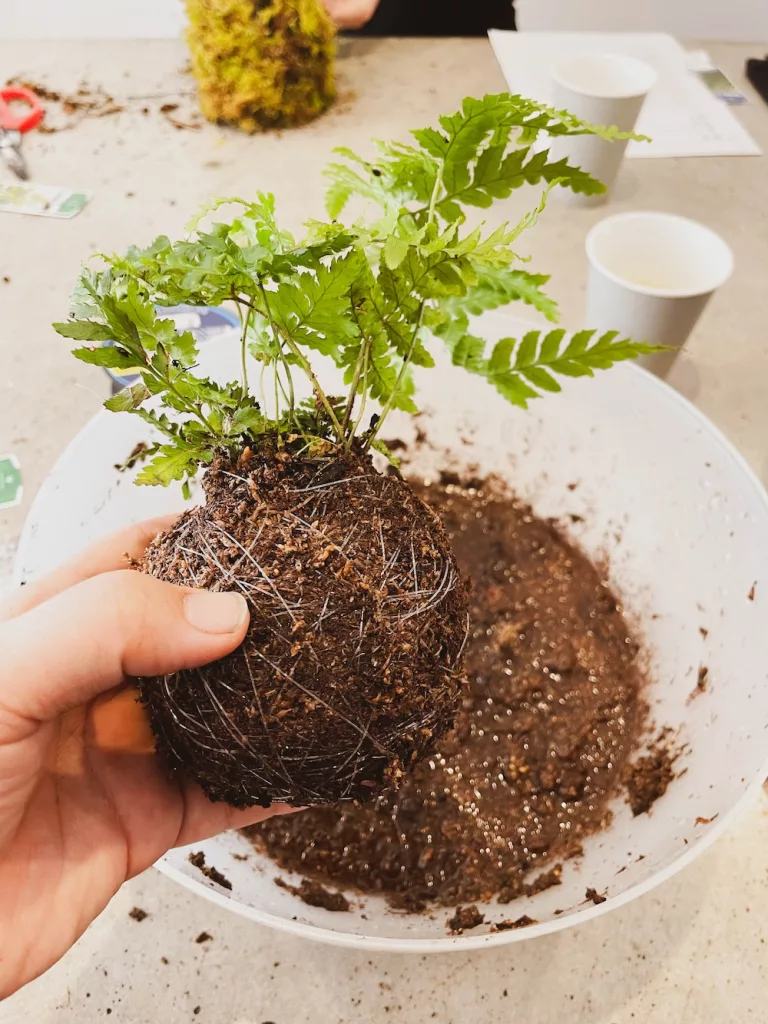
- Shape the Soil: We took a handful of the moist soil and shaped it into a ball around the roots of the plant, ensuring it was compact. We then used fishing line to hold it together. This formed the base of the kokedama.
- Cover with Moss: Lastly, we covered the ball with a layer of sheet moss and wrapped fishing line around it. And that was it – the kokedama was finished!


Benefits of Having Kokedama in Your Home or Garden
During the workshop, I learnt that having kokedama in your home or garden offers numerous benefits beyond its aesthetic appeal. One of the key advantages is the minimal maintenance required. The moss ball acts as a sponge, retaining moisture and gradually releasing it to the plant, reducing the frequency of watering. This makes kokedama an ideal choice for someone like me, who has a tendency to forget to water plants.
Additionally, kokedama can be displayed in various ways, allowing for creative and versatile arrangements. It can be hung from the ceiling, placed on a shelf, or grouped together on a table. Kokedama definitely adds a sense of tranquility and greenery to any indoor or outdoor space.
Final Thoughts
Attending my first kokedama workshop was so much fun! Creating a kokedama from scratch with expert guidance made me see the beauty in simplicity. I used to think it looked way too hard to make but it is, in fact, so simple. It’s perfect for plant lovers!
If you’re obsessed with plants or just want some greenery at home, you’ve got to try kokedama! You can check out Azumi’s workshop here.


Author: Cass C
Cass is the founder of Sun Moon Tribe. She has a keen interest in spirituality, metaphysics, sustainability and plant-based living. Being a small business owner herself, she is passionate about supporting and sharing the work of other local businesses.